

Well, hopefully I can make 2 more Christmas cards before Christmas. Eva gave me some cute stamps that I have colored, but haven't stuck them onto cards yet. In case I don't have time to post anything else before Christmas, have a Merry Christmas!


 I used the Amazing Duo boy again. He was a nice size to fit this card that measures about 4 inches by 3.25 inches. I still haven't used the girl superhero yet (not many girl birthdays in the summer of the people I know). Anyhow, he was colored with pencils and baby oil...at some point I really need to learn shading. So far I found 2 bloggers that use color pencils here and here that look really nice. But I haven't really been able to practice a whole bunch since I'm usually so last minute trying to make a card. And hard core crafters, please don't cringe, but I even had to buy a card for an upcoming birthday because after making this one, it was getting to be too much work for me. Mainly to try to get it in the mail on time. I guess I should plan ahead and try to make a whole bunch of cards beforehand so I always have a card ready for any occasion...but it doesn't usually work out that way.
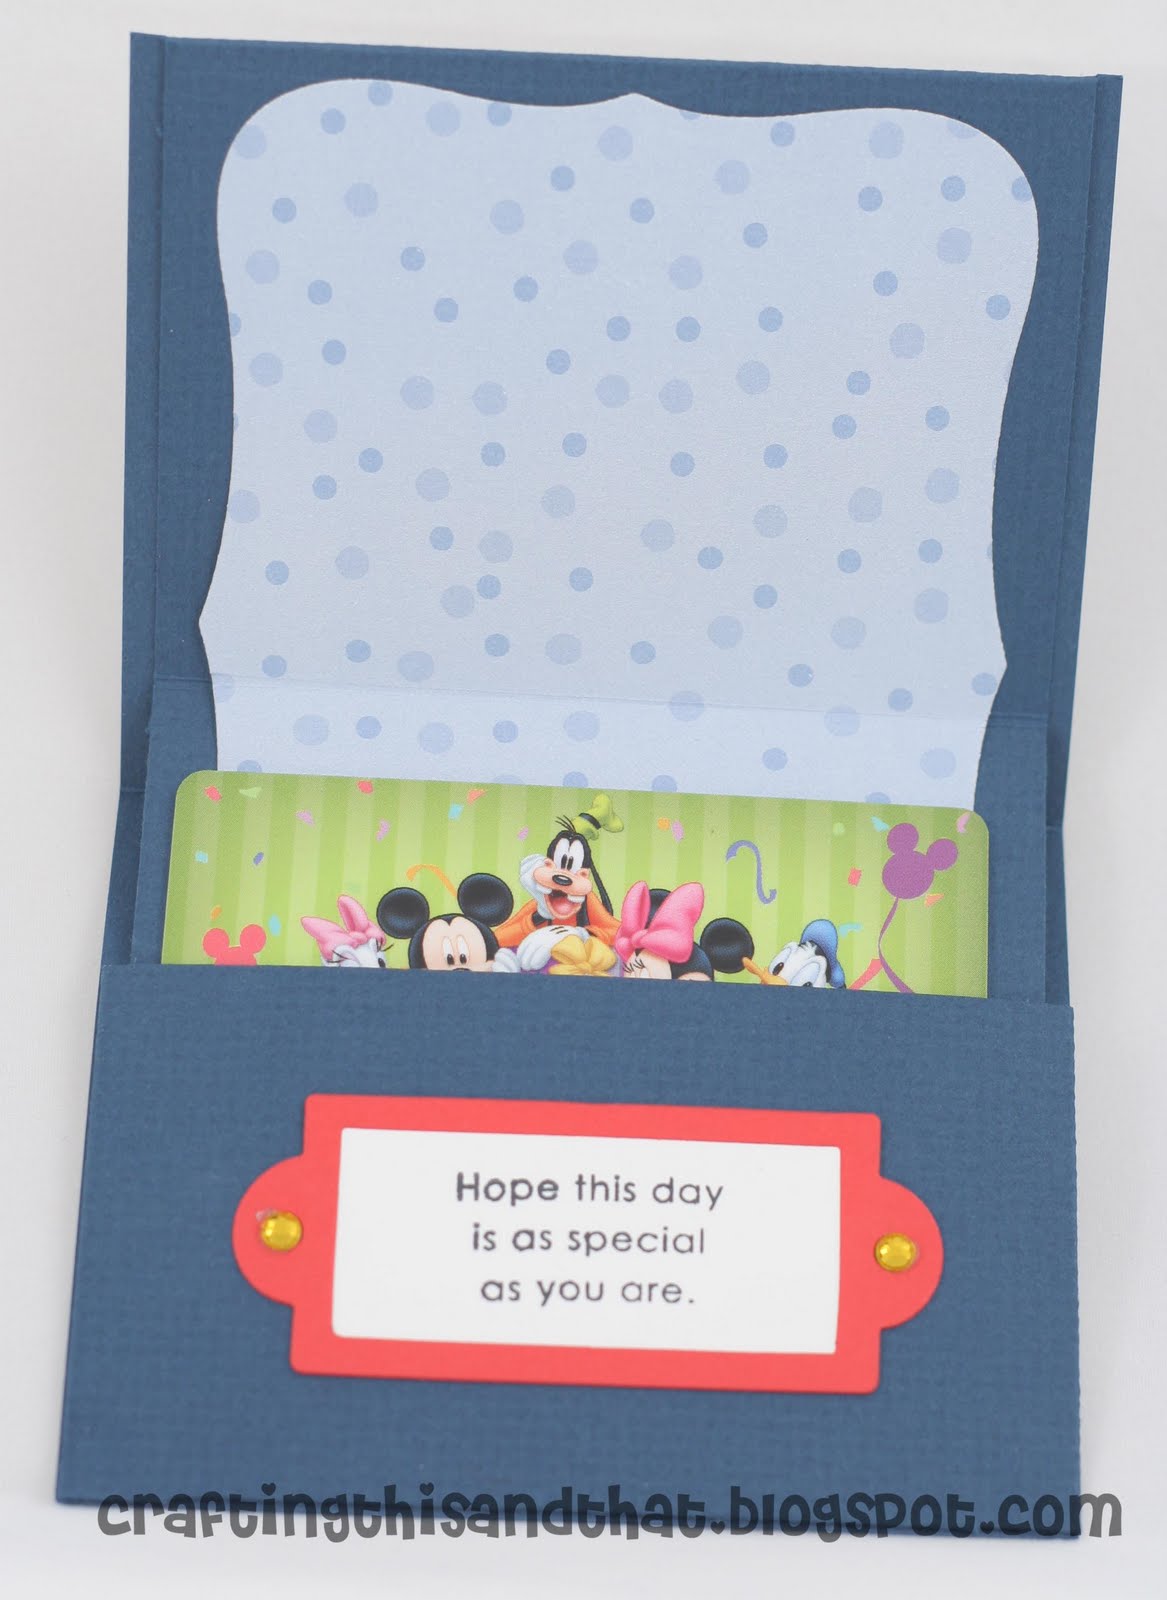 Here it is on the inside with a gift card, although it's not the real gift card, I just used it as a sample for photo purposes. I die cut the book plate with a sizzix die and stamped the sentiment from PTI's birthday basics. I used little stick-on gems for the bookplate holders.
 Here's the side view of the fold. I guess I wouldn't have put brads or eyelets to fasten the paper bookplate anyhow since the inside of the pocket should ideally be smooth so the card can slide nicely. Hopefully my pocket doesn't come unglued... Anyhow, hope everyone is having a good holiday weekend!
 I figured I better get to using all the new stamps that I ordered. This one is from the Amazing Duo set from The Greeting Farm. I actually colored this one first, which is when I realized that I have to color the skin before the hair otherwise I'll smudge black onto the face! I don't know why his superhero outfit is so colorful...I was trying to find pencils that matched all the little circles and then ended up using every color! The birthday paper and matching cardstock is from a birthday paper pack from Die Cuts with a View from I don't know how long ago. The number is from the Sizzix font set Round-a-bout, it has actually come in handy a few times. I'm not sure where I got the ribbon from...I'm such a collector, it might have come off some packaging of something else that I bought, but it seemed to match pretty well so I'm glad I saved it! Again I did the sticking things down before getting all the pieces together, so after I already made a hole for the "you're super" tag, I had to figure out the best place for the"5," which makes it feel kind of like reading backwards now.
 So a pretty simple birthday card. I mostly wanted to use my new Greeting Farm stamp, Skater Ian, that I got from the Die Cuts R Us sale. He's colored with pencils and baby oil. I basically picked random colors without even looking at paper. I can see why it would help to plan ahead. Or to find some card sketches before hand too, but oh well, hopefully now I can just get it in the mail on time. Anyhow, I was thinking I could somehow make a skate ramp, but ended up just using an oval instead. (It would help if I got all the pieces together before sticking things down too, argh!). I actually got to use some of my toys, I mean tools. Like the edge distresser, although next time I think I'm going to try inking those edges. And my crop-a-dile with the extra large eyelets from We R Memory Keepers. These eyelets actually set a lot better. I had some other brand eyelets that would set unevenly with the crop-a-dile. Other than that, the "happy birthday" sentiment is from the Birthday Basics set from PTI.


