Hi. This is a little notebook I made for
TGF's Altered Notebook Challenge and
Tamiko's Challenge. I didn't really have a notebook around so I made my own. It's mostly intended for my younger boys to scribble in or practice writing letters and words. I know it is a girly cover but hey, my youngest pulls around a Hello Kitty bag with wheels so I don't think he'll mind.
I used Cute Troop Anya's head and placed it on Annika's body. Paper is from Crate Paper's School Spirit.
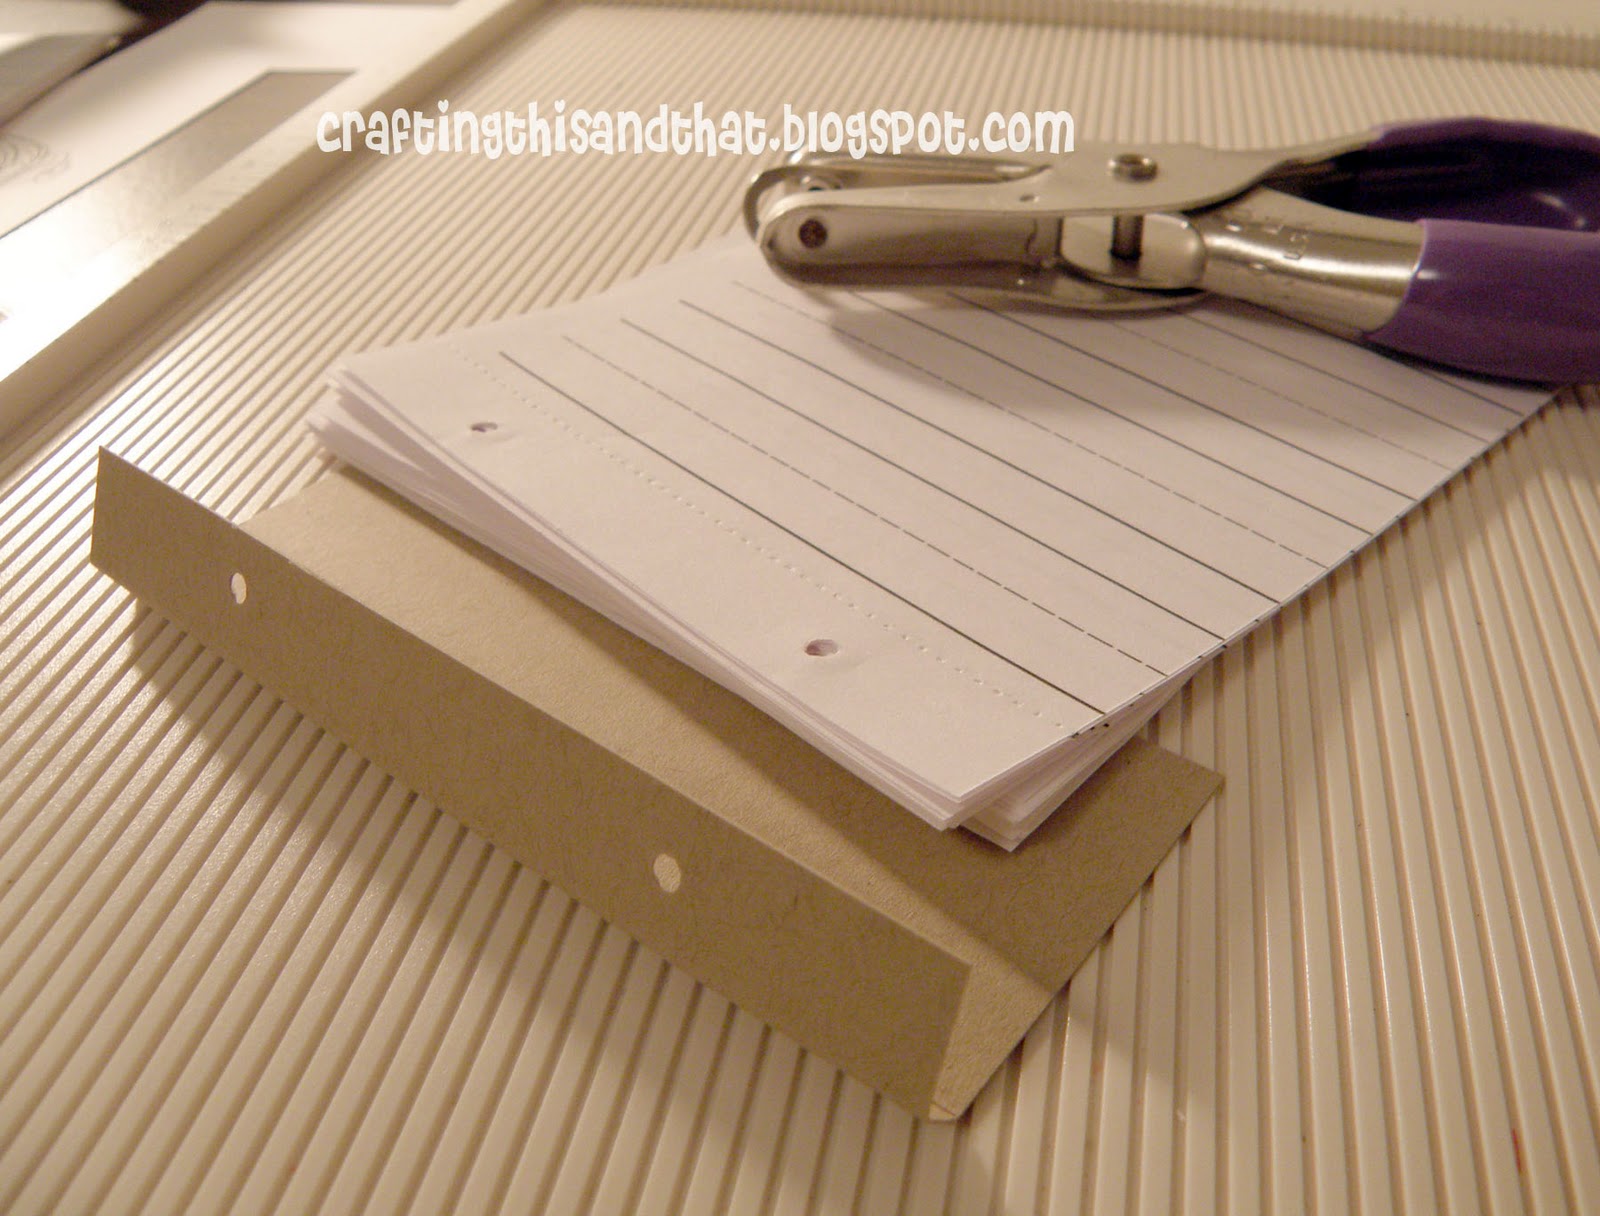
For the inside, I printed out some handwriting paper from
HERE. I cut a sheet into fours and trimmed some white off so it's about 4.25 x 5.25 inches. I used a serrated tracing wheel to make perforations on the top of each sheet so you can fold and tear it off. I had read a tutorial on the
Clearly iStamp blog but can't remember the specific project.
You just place the sheet on your score board and use the tracing wheel.
After scoring all the sheets I cut a little piece of cardstock and scored it. I realized that if I took pictures while I was making my project I wouldn't need to write down the measurements. I can just look at the pictures. Plus usually I'm kind of lazy to write down specifics since lots of times I just make things by trial and error. I waste a lot of paper this way.
Punch holes in the sheets and the top of the cardstock. Not through the bottom of the cardstock. I printed out 5 sheets of paper and so 20 quarter sheets in all.
I used baker's twine to tie sheets to the cardstock.
I made a second set of papers. It is also 20 quarter sheets. I used papers that my kids bring home from school like all the flyers and stuff. I usually save the papers so my kids can use them as scratch paper. I thought the kids could just draw pictures on this side.
I cut PTI kraft cardstock for the cover and scored a quarter inch from the center on both sides. No picture of this so I'll probably forget.
Attached the bottom of the cardstock to the cover. I used string to hold the papers together so hopefully it won't be difficult to remove and add more paper later. You could probably fit more than 20 sheets at a time too. I just didn't want to cut so much paper. But it should be easy to adjust this project to make it larger or smaller.
Originally I was thinking brads to hold the papers. Maybe that would work too.
Tied some baker's twine on the cover too. Bought it from DCRU. I couldn't remember what color I had ordered. Isn't that bad? Good thing I bought red. Matches school themed things and Xmas too.
Thanks for reading. Have a great Wednesday!